The Xanthophyll Cycle in Photosystem II

Wednesday, 11 June 2014

Third Repeat: Isolation of Stacked Thylakoid Experiment

So this was my third time of repeating the stacked thylakoid protocol, changing the parameters yet again.
We had a sample loop of 300ul for the injection value (smaller the sample loop the greater the resolution of our FPLC curve separation)
Also, we used a higher alpha DM detergent concentration of 1.2%

Due to the fact this was my third time doing this experiment, I was pretty rapid so had more times to take random snaps around the lab. Quite unfortunate as I actually forgot my camera on this day, oh well my camera is pretty decent with its 8megapixels:
One of Ruban's lab, the other one being a dark adapted room!

While waiting for the light treatment to occur on the spinach leaves, Petra made us do calculations to work out the correct mass of each chemical we needed. It was already on the sheet, but it's always good to get practice. I always hated these in lab practicals as they always confused me, but have to say they are not just something the lecturers make you do for nothing! They are extremely useful in the working life of a scientist!

After using the polytron to grind up all the spinach leaves in a uniform liquid, filtering through the layers of muslin; getting rid of the large starch particles in the spinach leaves we do not desire. Ohhh so much green! :3

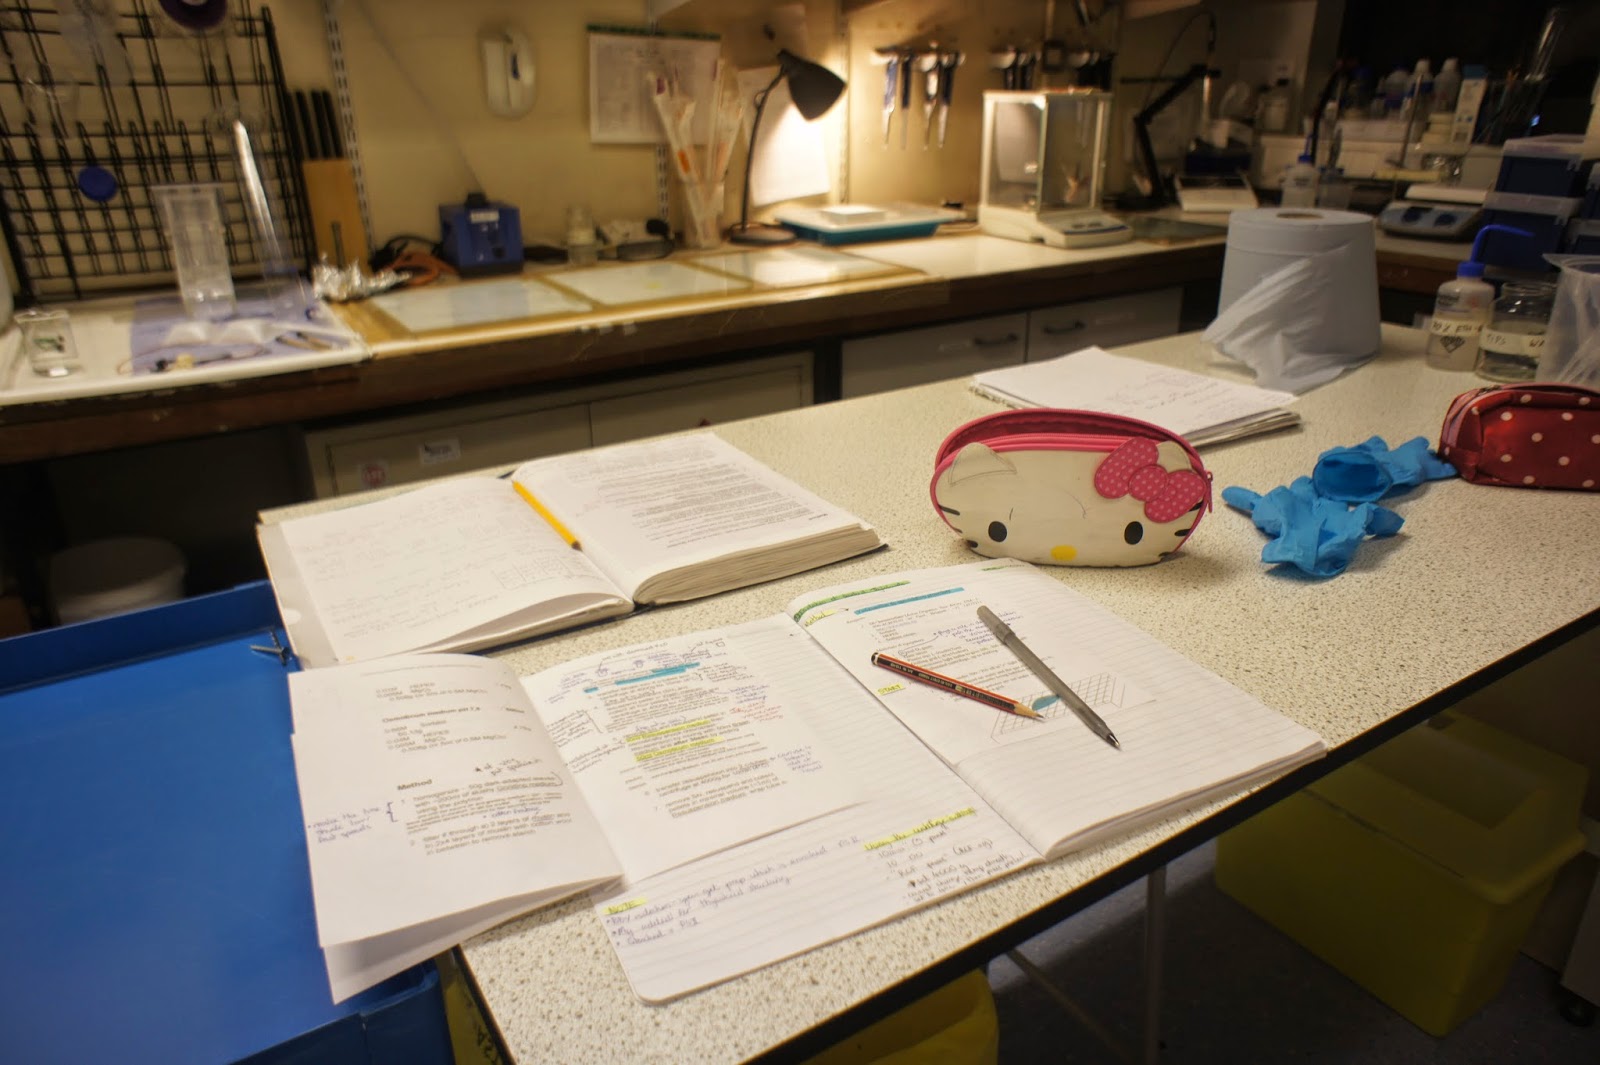
Always refering back to the lab book and my little written notes! See my pencil case? Very tempted to get a large see through one that can fit in all my highlighters, pen, pencils, calculators, rulers...as currently everything chucked into my hello kitty pencil makes it a "fat hello kitty" :( Generally don't like the bulkyness in my bag. Also, clear through pencil cases means I don't have to mess around with removing my pens for the exams~ I can just take the whole thing into the dam exam! :)

Everything must be kept on ice!!! Preventing any biochemical reactions from occuring. Oh look the ice even started to turn green! Haha! (I think it was from a minor spillage)


This machine spins the box in a square manner for the amount of time we desired. This is the part which we call the dark treatment. We usually, after setting the spinning speed place a black cloth over our ice box with our material in, to aid the dark conditions, for treatment.

Bag full of micro centrifuge tubes!

Here they are hidden in the draw~

Vivid colours in the lab~ always good to add colour to your life. Especially in the lab its always ever so grey in that room!  Here I am adding up my O/D for chorophyll A and B measurements in the spinach leaves.

Syringe, which we use to load our sample into the 300ul sample loop at the injection valve!


 Then we ran FPLC to separate our fractions! 

However, this time of stacked thylakoid preparation, Erica (The postdoctoral researcher at Ruban's Lab) allowed us to analyse certain fractions we obtained from FPLC via a method called 77k (using a machine called fluoromax-3). This method allowed us to determine exactly what was in our fractions, as before we were estimating from previous graphs as we knew what peaks would give what complexes. Also, it allowed us to see how efficient our preparation in stacked thylakoids were in providing us with our desired PSII super-complexes only. All this was performed in the dark room (Ruban's second lab)!

Always keeping our fractions on ice prevent the reactions !

As you can tell from the illumination from the computer screen, we are in the dark room. The 77k part is the white cylinder that Erica's hand is placed around. She is adjusting the sample to allow the florescence to hit our sample in order to detect what is actually inside!  


Adjusting the programmes parameters to get a clearer scatterpatch which we can use to determine the exact complexes in our fractions.


A black cloth over the 77k part of the fluoromax-3, aiding the conditions even more, even though the machine is in a dark room already and lights are switched off!

The name.
 To conclude, what we found from the 77k is that our A9 fractions which are meant to contain high amounts of PSII supercomplexes, still contain a high amount of PSI supercomplexes. Therefore, we know for sure that the stacked thylakoid preparation is not suitable for what we desire- isolating only PSII supercomplexes so we can analyse the efficiency of Violaxanthin to Zeaxanthin of the xanthophyll cycle, which occurs when the plant is in high light stress.

This leads to the fact we know now to use the BBY protocol, which is a preparation very similar to that of isolation of stacked thylakoids, however much longer as more steps are involved. However, at least with BBY protocol obtaining only PSII super complexes is the standard outcome.

Friday, 6 June 2014

Analysis of HPLC results

I had arranged to meet a friend after lab yesterday! Yes work hard and play hard ! Totally live by that motto~ as life is too short to 100% dedicate yourself to just work only. You need to enjoy yourself once in a while. There is more to life that just lab, university~ as much as I love learning and science. I am really big on being social and outgoing :)

So unfortunately didn't have the time to analyse, annotate and stick in my results into my beloved lab book. So I'm doing it this evening! Here are photos to show you a glimpse of what it's like to be in Jessica Lau's work space~ haha!


This is my study area in my room, complete with my whiteboard for writing ideas, revision etc~ I recently brought the exam desk table from amazon to make more study place. Before it was just the white corner desk that existed and I didn't really have enough study space, with having all the books, laptop, printer, notes out. I just like having easy access to everything, so this exam desk, which was only £15 was a great investment! I did consider getting a new desk in all but I really like the corner desk for storage and it fits nicely in the corner! I'm quite a interior designer, space saving idea filled individual myself. One of the best dates for me is if a guy took me to Ikea! Hahah~ I know you should never wish away your life but I actually cannot wait till I'm older, finally starting my career in the science world, where I can have my own place to decorate and make my own ^_^

Also with this new addition of an exam desk, I can shove all my boxes of notes underneath the corner desk as pictured, which before these boxes use to cover up a beautiful fireplace in my room! So win win! I am a true believer that you really should make your "study area" your own as studying is a happy thing :) Well for me anyways. I have inspiring notes on the walls of mine to keep me going through the tough days. Maybe I'll make a blog in the future about how I personally keep on studying for long hours and how the study area is my own place of zen! Yes, anyways so you can tell I've made this area a place of my own with my monster inc poster and cuddly toys~ which personally make me really happy~ you all should do too!

Lastly,the addition of a corkboad means I can pin important notes up rather than sticking them up with bluetack, which i really like! It's just easy to pin and its right infront of me for future references!


Printed all my results out! Now do you see what I mean that I have a larger study space surface area! It's great spreading everything out, being able to see everything! Before it was a real up time struggle and I hated putting things on the floor. I did try and get chairs from the dining room table and put the notes on that, but still they weren't in easy view of being on the table!

Nicely edited my results and compacted them so they would be easy to stick and read in my lab book!.
Close up on the graphs generated from HPLC~ seeing clearly what pigments we have. By calculating the area underneath the pigments you can obtain the amount of pigments in the complexes. There is already a generated excel file which we can place our values in which calculates it for us. Thanks to the scientist that worked before at Ruban's lab; making my life easier! Gosh, imagine doing all the calculations by hand, would take at least an hour!

Here's the results stuck in~ analysis with a lot of highlighters, pens, sticky notes~ Yes I am really big on colour. I think it's quite obvious from my study area in the room, it's quite colourful compared to a plain library study area. Colour excites my brain and helps me to visualise and learn~ I've always been a big visual learner :) Also it makes my beloved lab book (Yes I am dearly in love with my lab book because I've put so much time into it) so pretty to just view!
 Anyways~ Analysis of results should usually be done quite close to the experiment as you don't want to forget important information! If I have the time usually I prefer doing everything in the lab~!


Thursday, 5 June 2014

UK’s Beautiful Sunshine Rays + First Run of HPLC

Today was my first time on the Fogg's rooftop (Fogg Building= Queen Mary’s School of Biological and Chemical Sciences building). It’s basically where all the greenhouses are for the school. Here are some lovely pictures of it:
Here are the several green houses on the rooftop. If you can see the blue door in the picture, there are more on the other side of the door!

Green house shot 2# : As you can tell the green houses are quited dated and I believe money should be spent on making them nicer! Apparently when a glass window falls or breaks, inevitable when the greenhouse is that old, it costs so much to replace just the glass, so why not replace it all? Guess with most thing its about funding! Currently Fogg building is undergoing alot of work inside with refurbishing and building new offices~ so guess that's where the money is going !

Loving the clouds in this picture, and you can just tell by the building that this is iconic East London!

East London view~

A photo of the rooftop, East London views and the pathway leading back to the fifth floor of the fogg building with the ladder steps. As you can tell the Fogg building is very peculiar in itself for the fact it has this Lego theme going on it. I'll blog about the architecture of the actual Fogg building some other blog post! So look out for it in the near future!!!

Better view of what I described the photo above!

Petra (Ruban Labs technician) giving me a tour around Ruban Lab's Greenhouse. Ohhh looking at this picture reminds me of how amazing the weather was that day! ^^

Botanist playarea! Haha

Anna's Plant. Anna is a final year Phd student of Ruban's. She works on hybrid plants! Frankenstein like she says it!

Healthy plant growth

They look like they are dying but this is how we obtain the tiny seeds from them! Where Petra hand is positioned is basically where all the fine seeds are located.


We started off the lab day discussing about the fine details from my previous meeting with Professor Ruban and how we can further change the parameters to improve our solubilisation for PSII complexes. After this, we headed back down to the fourth floor, where Ruban's Lab is.

Finally the day had came and it was HPLC time! I’ve never ever used a HPLC machine in my life! Since the 3 weeks of being here I've always anticipated that we would eventually use this to further analyse certain fractions obtained from FPLC. I’ve always wondered how this machine works, how we would use it! New experiences are always the most exciting.

I must say, I really do prefer the HPLC machine over to the FPLC. I find HPLC machine more compact and nicely in place. The FPLC for me feels abit large and awkward in the sense you have the fraction collector part of FPLC. To be honest, maybe it is the positioning of FPLC, as it is placed awkwardly next to a beam that makes it so awkward to use, especially when you are trying to inject your sample from a syringe into the injection valve.

Anyways I'll leave it up to you guys to decide what you think of each, here some pictures!:

Do you see what I mean? The fractions are nicely placed in this circular spinning part of HPLC, everything is compact and nicely in placed! If you go back to my blog post about FPLC you can see the fraction collection part of the machine isn't as nicely compacted as HPLCs!

This is Petra adjusting the HPLC machine, checking if everything is set properly. Above of the machine we have open the flap , where we can see the buffer wires. We can observe if the machine is working properly if there are no bubbles in the buffer wires and if the buffers are actually moving through the tube!

Our very concentrated A8 fraction sample of PSII. From our second run of FPLC and isolation of stacked thylakoids.

Labelled vials for the different isolated PSII fractions from different experiments.  The number 1's are from the 1st isolation of stacked thylakoids. 1c being the most concentrated, 1b being a 1:1.25 dilution and 1a being a 1:2 dilution. The number 2's are taken from the 2nd isolation of stacked thylakoid experiment. C being the most concentrated going to slowly up to a lower dilution factor.  2 labelled vials are non acidified samples and, 3 labelled vials are acidified sample.

All the vials nicely placed in, if you see to the back of the machine there is basically a needle attached to the metal moving thing. This is the needle which injects into the vial and samples for the HPLC run.

Side view of HPLC


A better picture of all the vials in place with their caps on. In the middle of the cap is a circular paper disc which the needle can easily pierce.

Computer part of the HPLC. Yes you can clearly see windows 2000! You might be thinking why is this not windows 8?! Or something more up to date? Basically most of these chromotography or any lab machines were built a while back and obviously configured to work with windows 2000 only. For Ruban's lab to change and update everything to windows 8 could take a process of an entire month. So if it works then its fine. Despite the fact it is awfully slow!!!! -.-

With the lid on!

Lovely windows 2000 again! Did i mention it was windows 2000 professional?! :O

Liquid nitrogen, being daring and placing my hand on the vapor ! Basically its fine as when the vapour touches your skin it immediately evaporates! Don't ever actually immerse your entire hand in the liquid nitrogen its equivalent to putting your hand in burning oil, besides your hand would freeze in pain. For me I think freezing to pain is worst as I am so sensitive to cold. I remember doing a lab experiment to see how tolerant I was to placing my hand in icy waters, yeah I didn't last long....*roll eyes* :)

The program that processes the data collected and analysed by HPLC. A nice mouse mat which probably came with the software! How kind of Chromeleon!

Chromeleon on the desktop loading!

Literally, this is five minutes after and yet it still fails to load.... well it did load eventually but obviously windows 2000 is old, it's gonna be slow!

Setting the parameters for our HPLC run~ oooohhh colours!!!! You might wonder how on earth would I know how to use this as a undergrad, wouldn't I get confused? Basically we have this HPLC for dummies walk through which I just follow the instructions to~ it is slightly overwhelming, but if you can read you'll be fine :P


To conclude, this was a very interesting day. The HPLC run was basically a test run as our fraction samples did not have 100% PSII complexes only, they were not fully unsolublised. Today was basically for me to see how HPLC works and to get use to the machine itself :)


Wednesday, 4 June 2014

Second repeat of the stacked thylakoid preparation

Having already talked about the basis of this experiment in the previous blog. I decided just to take pictures of this time repeat, so show you more about the lab :)


Again and FPLC machine~
The FPLC & HPLC machines next to each other. HPLC machine is the white grey machine next to the FPLC machine. The FPLC includes the yellow machine next to it with many test tubes placed in it.


General notes~


This is a magnetic hotplate stirrer. You basically place an metal stirrer at the bottom of the beaker and adjust the right knob for the speed of spinning the metal stirrer.

This is a pH meter. the probe stuck into a test tube covered in film is the actual meter which you place in a solution.

Super sensitive weighing scales, measuring to 4dp! It has doors on the top and both sides. You basically open both sliding doors on both sides and use one hand to spatula in the fine material into the dish and the other hand holding the tub of material.

All the chemicals!!!

Really cool pipette and futuristic looking. Used one for the first time today for pipette larger volumes of up to 10ml. Really cool you have to get use to the different types of pressure applied to the button.
A pathway of the FPLC machine~ where the injected material travels along.

Pump A of the FPLC!

The injection valve of the FPLC, we use a syringe to inject our sample into this.

The picture showing the different loops connecting to different compartments in the FPLC.

Clearly, this is where the fractions from FPLC are collected...they are labelled in series as A1 A2 A3, B1, B2, B3...etc

How we use the programme to set the parameters desired.

Pump A again!


My work desk in the lab!

The superdex column, this time extremely green, probably due to the fact we increase our sample loop volume to 500ul!